Введение
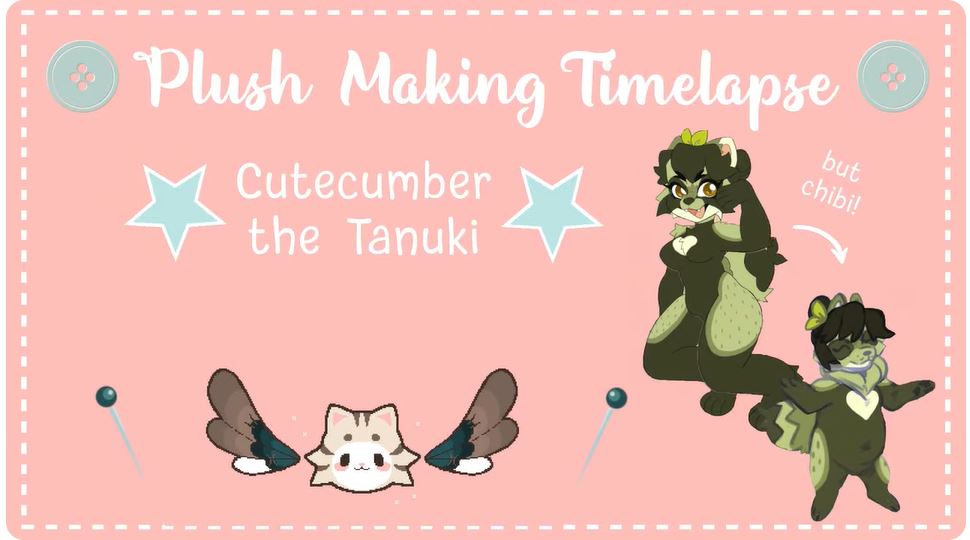
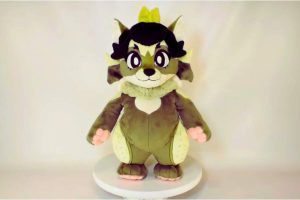
Embarking on the journey of creating a plush toy is not merely a craft; it’s an endeavor filled with creativity, dedication, and a touch of magic. In this guide, we’ll explore the process of bringing to life the adorable character of Cutecumber the Tanuki in plush form. From selecting materials to sewing techniques, every step is infused with passion and precision to craft a plush companion that captures the essence of Cutecumber’s charm and personality.
Crafting Plush Toy of Cutecumber the Tanuki
Choosing the Perfect Materials
Selecting the right materials is the first step in creating a plush toy that not only looks appealing but also feels soft and cuddly. When crafting Cutecumber the Tanuki, consider using high-quality fabrics such as minky or fleece for the body, ensuring a plush texture that invites hugs and snuggles. Additionally, choose complementary fabrics for details like Cutecumber’s distinctive markings or accessories, adding depth and character to the design.
Designing the Pattern
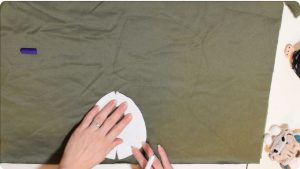
Before diving into the sewing process, take time to create a pattern that accurately captures Cutecumber’s unique features and proportions. Start by sketching out the design on paper, paying attention to details such as the shape of the ears, the size
of the tail, and the placement of facial features. Once satisfied with the design, transfer it onto pattern paper, making adjustments as needed to achieve the desired look.
Crafting with Care
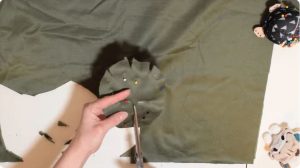
With the pattern finalized, it’s time to bring Cutecumber to life through careful cutting and stitching. Begin by cutting out the pattern pieces from the chosen fabrics, ensuring precision to maintain consistency in size and shape.
Start by stitching together all the pattern pieces. Craft the main body of the plush, ensuring precise stitching to maintain its shape and form.
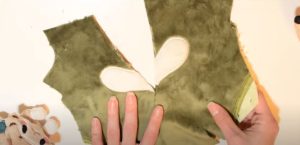
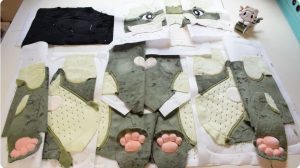
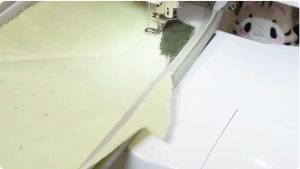
Assemble the pieces according to the design, pinning them together with right sides facing. When sewing, use a combination of hand stitching and machine sewing to achieve clean and secure seams, paying special attention to details like facial embroidery or appliqué for Cutecumber’s features.
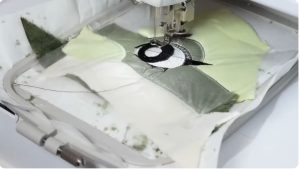
Craft the expressive eyes of Cutecumber, adding character and charm to the plush design.
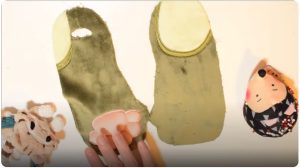
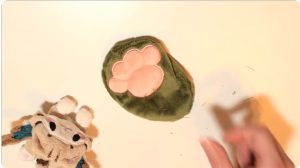
Seam together the legs with care, ensuring stability and mobility for the finished plush toy. Skillfully sew the feet, providing a sturdy foundation for Cutecumber to stand or sit upon with ease.
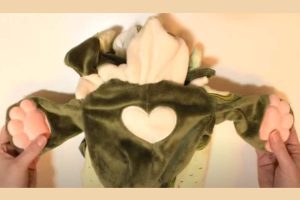
Seam the body and head together, ensuring a secure and seamless connection for a cohesive plush toy.
Adding Personal Touches
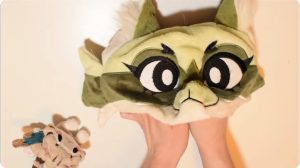
To truly capture Cutecumber’s personality, consider incorporating special touches and embellishments into the plush design. This could include adding embroidered details like facial expressions or using fabric paint to create intricate markings on the fur. Don’t forget to include any signature accessories or props that define Cutecumber’s character, whether it’s a playful scarf or a miniature satchel filled with treasures.
Final Touches and Quality Check
After assembling the plush toy, it’s essential to conduct a thorough inspection, checking for any loose threads or irregular stitches. Carefully trim any excess threads to ensure a neat and tidy appearance. Next, gently stuff the plush with filling to achieve the desired level of softness and plumpness, giving Cutecumber a cuddly and inviting feel. Finally, give the toy a gentle fluff and brush to enhance its appearance, ensuring it’s ready to captivate anyone who beholds this adorable creation.
Заключение
Creating a plush toy of Cutecumber the Tanuki is more than just a crafting project; it’s a labor of love and imagination. By carefully selecting materials, designing a pattern with precision, and infusing each stitch with care, you can bring to life a plush companion that embodies the whimsy and wonder of Cutecumber’s world. Whether displayed proudly on a shelf or cherished in the arms of its owner, this handmade creation is sure to bring joy and delight for years to come.
