مقدمة
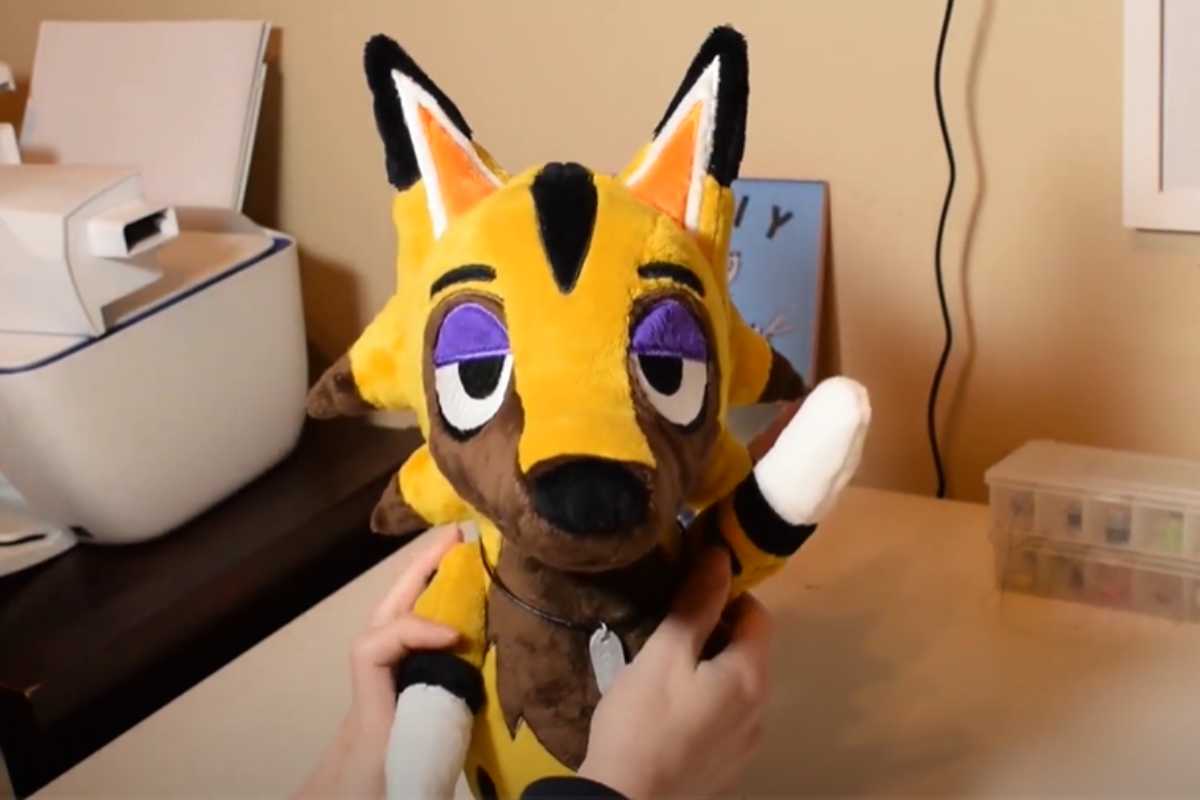
When you make plush toys, adding joints to your creations can take them to a whole new level. Jointed limbs allow your plushies to pose and interact, giving them a unique personality. In this guide, we’ll dive into the process of jointing plush limbs, using plastic safety joints for smooth movement. Whether you’re a seasoned plush maker or just starting out, this technique can bring your creations to life.
Understanding Plastic Safety Joints
Jointing plushies can be done in various ways, but we’ll focus on using plastic safety joints for their simplicity and effectiveness. These joints consist of three main components: the post, washer, and lock washer.
Components of Plastic Safety Joint
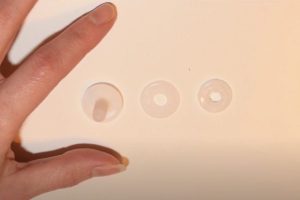
- The Post: This long piece has ridges along its length, which are essential for locking it into place.
- The Washer: A plain, flat piece that adds stability to the joint.
- The Lock Washer: Featuring ridges on the inside, this part locks onto the post, making the joint secure.
Choosing the Right Joint Size
Selecting the correct joint size is crucial for smooth movement and stability. Joint sizes can vary, with options like 20mm, 15mm, and larger. Match the joint size to the size of your plush; too small, and it won’t support the limb; too large, and it won’t fit inside the plush.
Jointing Limbs and Heads
Plastic safety joints are primarily used for limbs, such as arms and legs. However, you can also experiment with using them for tails. When it comes to heads, consider using hardboard joints for extra stability, especially if your plush has a larger head.
Precautions: Avoiding Difficult Joints
Not all plastic safety joints are created equal. Some varieties with white posts and tan lock washers can be challenging to assemble, as they require heat to connect properly. It’s advisable to steer clear of these types to save yourself frustration.
Placing the Joint on the Arm
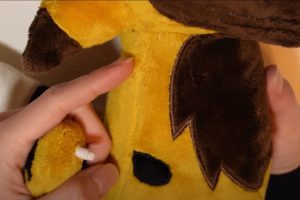
- To begin jointing, determine where you want the arm to move. Typically, this is near the shoulder.
- Mark the placement with a stitch line or an embroidery machine for added security. Then, cut a small hole in the arm fabric, just large enough for the post to fit through.
- Start small, as you can always make the hole larger if needed.
Preparing the Plush Body
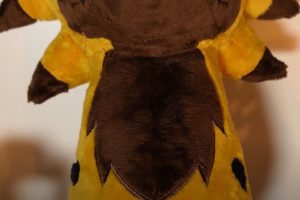
- Before attaching the arm to the body, stuff your plush toy and decide on the placement.
- You can either start with the arms and then determine the body placement or vice versa. Make sure to mirror the arm placement for symmetry.
- If your plush’s side allows, leave a gap in the seam to insert the joint without cutting a hole.
Attaching the Arm
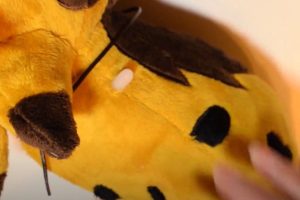
- Insert the post into the hole you prepared in the arm, ensuring there’s no stuffing between the post and fabric.
- Slide on the plain washer with the flat side against the fabric for added stability.
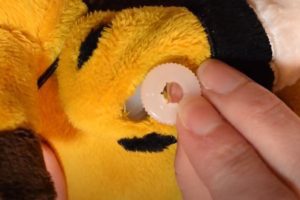
- Then, carefully attach the lock washer one click at a time.
- Test the arm’s movement as you go, adjusting the tightness until it suits your preference.
Finishing Touches
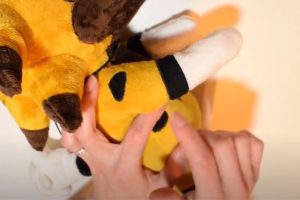
Once both arms are securely jointed, stuff the arms to your liking. It’s a good idea to make the upper arm slightly less stuffed to create a natural shoulder look. Afterward, close any openings, tidy up loose threads, and add any final touches to complete your plush toy.
خاتمة
Adding joints to your plush creations can bring them to life, giving them personality and character. Plastic safety joints provide a simple and effective way to achieve this, allowing your plushies to strike various poses. Experiment with different placements and enjoy creating unique, posable plushies that will delight both children and collectors alike. Happy plush making!
