Introduction
Are you looking to add an extra dimension to your plush toy creations? This comprehensive guide will delve into the intricate process of patterning and sewing simple folded ears for your plushies. Whether you’re a seasoned plush maker or a novice crafter, this tutorial will equip you with the skills to bring your creations to life with charming 3D ears. Let’s dive in!
Crafting and Sewing Basic Folded Ears
Patterning the Ears

To begin, it’s essential to accurately pattern the ears to scale with your plush toy. You can either print out a picture of the ear or draw it manually, ensuring it matches the desired size and shape. The goal is to create a 3D fold within the ear, adding depth and dimension to the final plushie. By folding the fabric in on itself, you’ll achieve a realistic ear structure that elevates the overall aesthetic.


Begin by sketching the ear shape, ensuring to include some allowance around the edges. Once the pattern is drawn, carefully cut it out along the outlined shape. Next, fold the pattern along the midline, creating a precise fold that will form the basis for the dimensional ear structure. This step lays the foundation for crafting realistic and visually appealing ears for your plush toys.

After folding the pattern along the midline, take care to trim off any excess paper that extends beyond the ear shape. This involves cutting off the extra pattern both above and beneath the folded line, ensuring a clean and accurate representation of the ear’s dimensions. By meticulously trimming away the excess, you create a precise template for crafting plush toy ears with impeccable detail and symmetry.


To ensure accuracy, gently lift the pattern to inspect the line on the underside. This allows you to confirm the position of the fold and ensure that it aligns perfectly with the desired shape of the ear. By peeking underneath, you can verify the accuracy of the fold and make any necessary adjustments to achieve the desired outcome. Once it’s done, trim the excess paper to refine the pattern further.


Adding Dimension


Once you’ve outlined the ear shape, it’s time to join the fold. Sketch out additional space of seam allowance beyond the edge of the fold area, ensuring there’s ample room for the dimensional element. This extra space will allow for a clean fold without compromising the overall shape of the ear. Trim the excess paper to refine the pattern, ensuring it aligns seamlessly with the plush toy’s design.
Creating Color Transitions

For added visual interest, consider incorporating color transitions within the ears. Use techniques such as color blocking or appliqué to introduce contrasting hues. Pay attention to how the colors interact with the fold, ensuring a seamless transition that enhances the overall design. Careful planning at this stage will prevent any color bleeding or uneven distribution.
Sewing the Ears


With the pattern finalized, it’s time to bring the ears to life through sewing. Start by sewing the ear pieces together, ensuring the right sides are facing inward. Use pins to secure the edges, maintaining precision throughout the sewing process. Trim the seam allowance to minimize bulkiness, especially for smaller plushies where thin ears are preferred.

Fold the ear along the designated line to create the desired shape. Secure the fold in place by sewing it with a basting stitch. This temporary stitching ensures that the fold remains intact during further assembly and sewing processes.


Attaching the Ears
When attaching the ears to the plush toy, there are various methods to consider. One common approach is to insert the ears into the seam line around the side of the head. This method ensures a clean finish, eliminating the need for additional hand sewing.

Designate and mark the specific area on the head material where the ear will be attached. This ensures accurate placement and alignment of the ear during the sewing process. Use pins to secure the ears in place before stitching, ensuring they align evenly with the head’s curvature.


Sewing the Head

Securely pin the head material together along the designated seam line, ensuring the ear is properly positioned. Proceed to sew a basting stitch along the entire seam allowance, ensuring the ear remains securely attached.

Refining the Process
Throughout the sewing process, it’s essential to continually refine and adjust as needed. Double-check the placement of the ears to ensure symmetry and balance. Baste the ears into place before final stitching to prevent shifting during assembly. Take your time to meticulously craft each detail, resulting in a professional-quality plush toy that’s sure to delight.

Conclusion
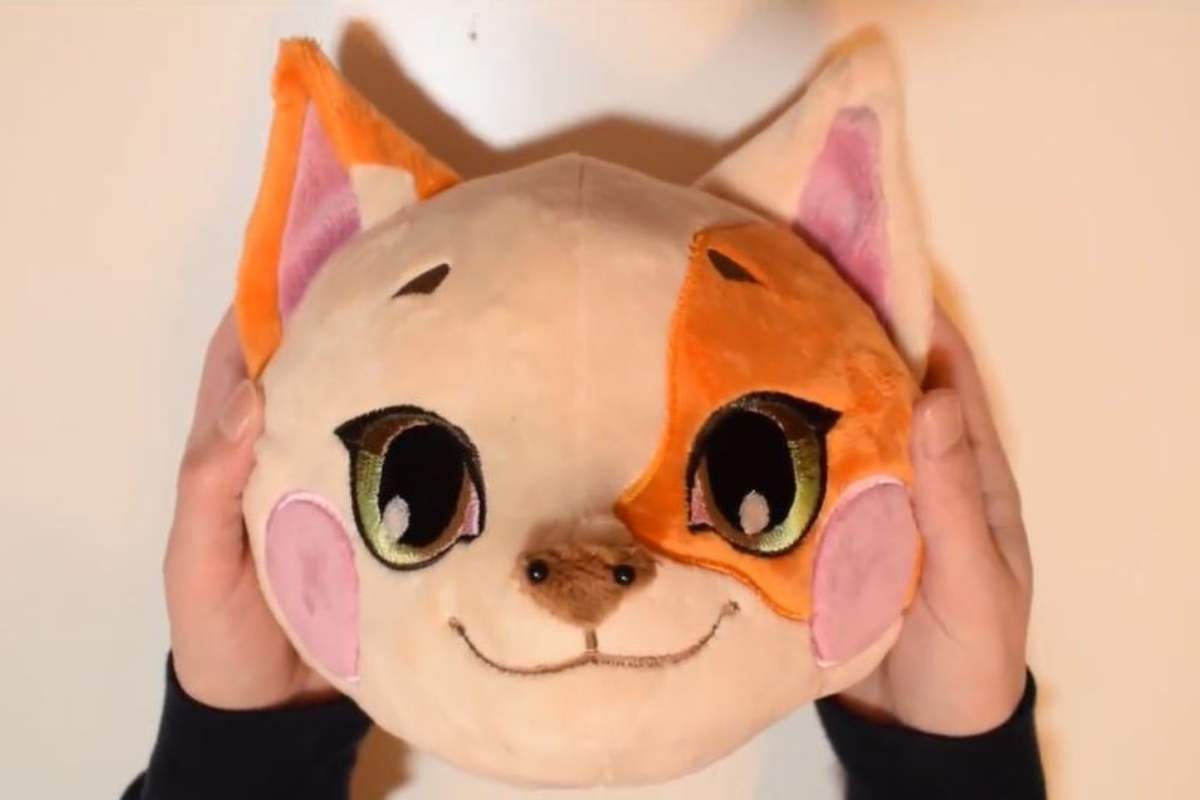
With these step-by-step instructions, you’re now equipped to pattern and sew simple folded ears for your plush creations. Whether you’re crafting a cuddly cat or a whimsical creature, the addition of 3D ears will elevate your plush toys to new heights. Experiment with different shapes, colors, and techniques to customize your designs and unleash your creativity. Happy crafting!