Introduction
Plushies, those cuddly and adorable stuffed toys, often have intricate details that enhance their appeal. While embroidery machines are commonly used to achieve these details, not everyone can access one. In this tutorial, we’ll explore various techniques for adding intricate detail to plushies without relying on an embroidery machine. Whether you’re a seasoned plushie maker or just starting out, these methods can help you elevate your plushie game.
Drawing on Cotton Fabric
The simplest way to add detail to a plushie is by drawing directly on fabric. For this method, 100% cotton fabric is the most suitable choice. Here’s how to do it:

- Prepare Your Work Surface: To avoid marking your work surface, place a folded piece of paper under the fabric.
- Use the Right Pen: While a fabric pen is ideal, a fine-tip permanent marker can also work. Ensure the marker’s color is darker than the fabric.
- Draw Your Design: On cotton fabric, drawing your design is straightforward. You may experience some minor bleeding, but it’s manageable.
This technique allows you to create various details, and you can get creative with your designs. However, keep in mind that drawings may fade over time, making it better suited for personal projects rather than those intended for sale.
Exploring Alternative Fabrics
Cotton isn’t the only fabric you can use for adding detail. Let’s explore how drawing works on different materials:

1. Minky Fabric: Permanent Marker on 2mm pile Minky, a synthetic fabric often used in plushie making, can be a bit trickier to draw on. Its texture may require you to use small strokes and dabs of the pen. Additionally, the direction of the fur can affect the appearance of your design. While the marker didn’t smudge on minky, it’s worth noting that some transfer to the skin might occur due to its synthetic nature.

2. Felt: Permanent Marker on Felt. Felt poses its own challenges because of its texture. Similar to minky, you may need to use short strokes and gentle dabs to draw your design. While felt doesn’t smudge either, the texture and fibers can affect how smoothly you can draw.
These alternative fabrics offer unique textures and appearances for your plushie details. Experimenting with different materials can lead to interesting visual effects.
Sewing Techniques for Applique
Drawing isn’t the only way to add detail to plushies. Applique, a sewing technique involving layered fabrics, can yield professional-looking results. Here’s how to do it:
- Prepare the Materials: You’ll need the main fabric (e.g., minky), cutaway stabilizer, and the fabrics for your detail (e.g., felt).

- Glue the Fabrics: Use craft glue sticks to temporarily attach the minky to the cutaway stabilizer. Allow it to dry with some weight on top for about five minutes.

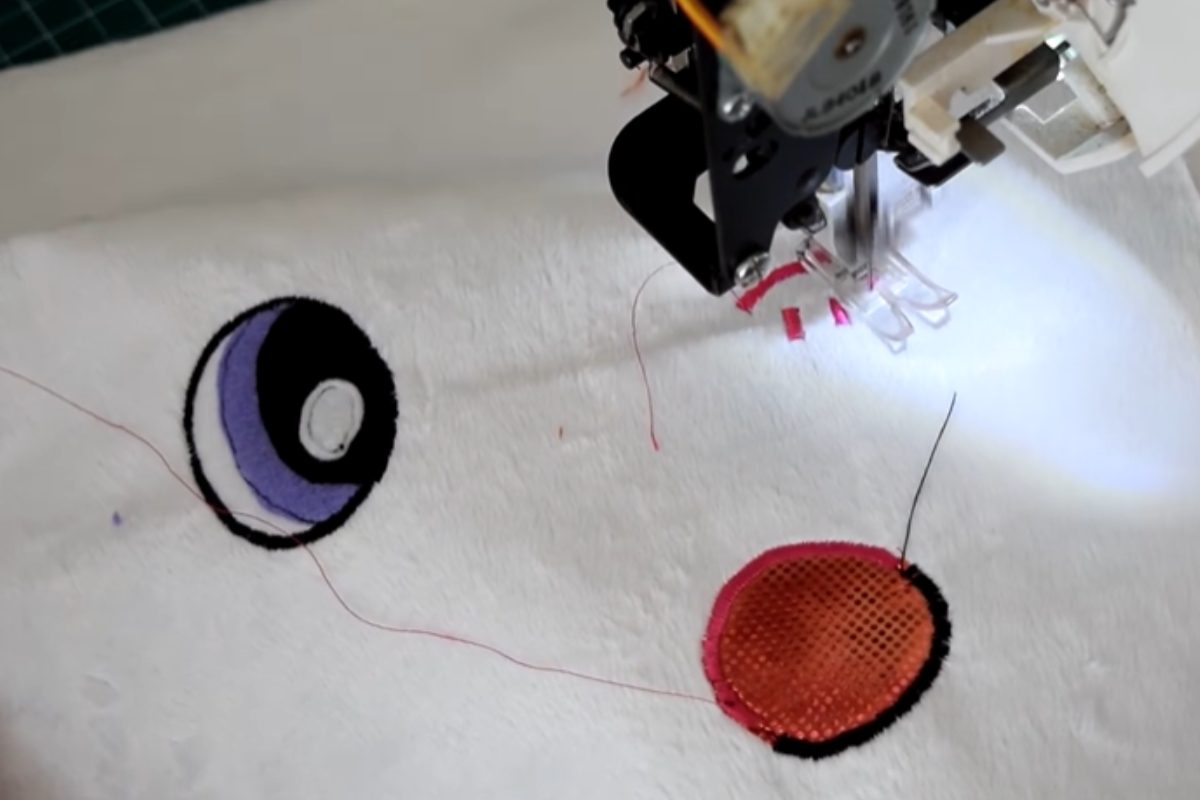
- Sewing the Details: Create your design by sewing the felt pieces onto the minky. You can use a straight stitch to secure the layers. Using the same color thread for the entire design creates a cleaner and more professional look.


- Satin Stitch Finish: To achieve a polished appearance, switch to a wide but short zig-zag stitch (e.g., 3mm wide and 0.8 stitch length) to create a satin stitch around the edges of the detail. This technique mimics the effect of an embroidery machine.

By applying applique techniques, you can achieve intricate and professional-looking details on your plushies. The key is to choose complementary fabrics and take your time with the stitching.
Conclusion

Adding intricate details to plushies without an embroidery machine is not only possible but also an opportunity to showcase your creativity and craftsmanship. Whether you prefer drawing on fabric or using applique techniques, these methods can help you create unique and visually appealing plushies. So, go ahead and elevate your plushie-making skills while making adorable and personalized stuffed toys.


