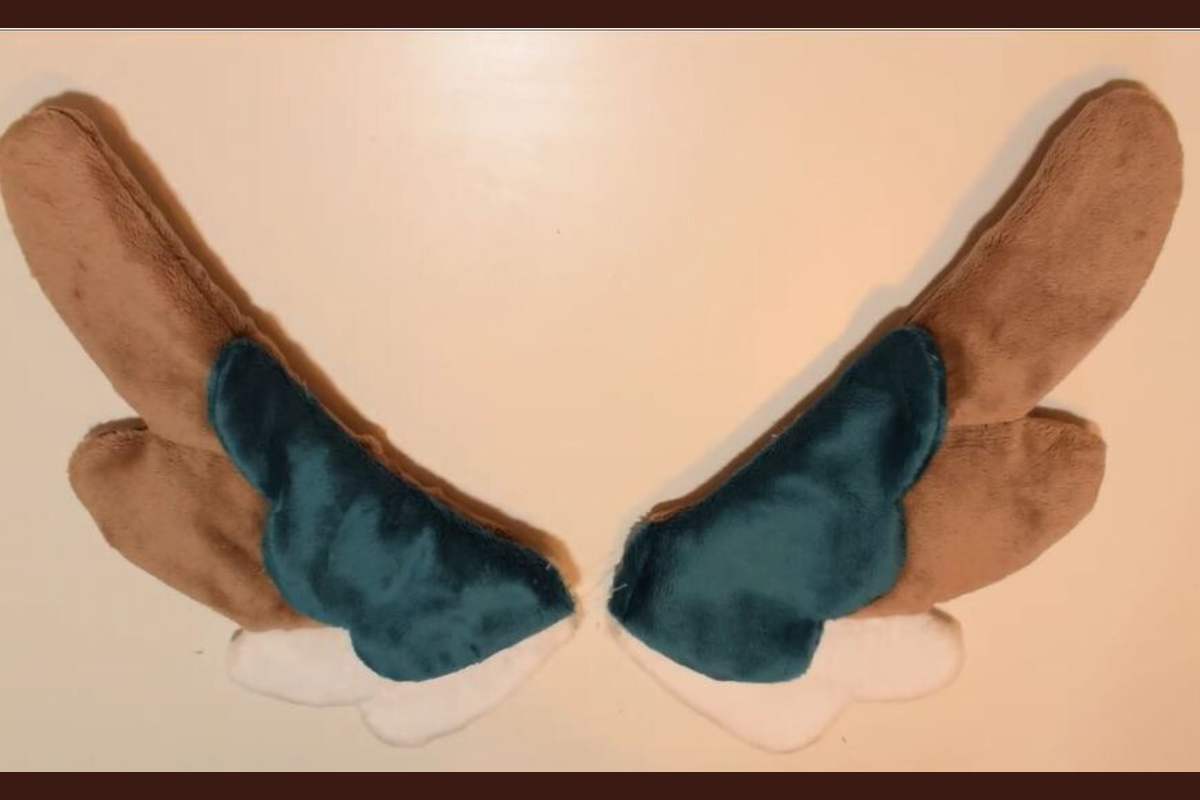
Introduction: Elevating Your Plush Creations
Are you tired of your plush creations looking flat and lacking dimension? If so, you’re in the right place! In this tutorial, we’ll explore how to add depth and detail to your 2D plush parts, taking your creations to the next level. Whether you’re crafting wings, tails, or other intricate pieces, these techniques will breathe life into your designs.
Lining with Quilt Padding: The Foundation of Dimension

The first step in adding dimension to your plush parts is lining them with quilt padding. This simple yet effective technique provides structure and thickness, transforming flat pieces into dynamic components. When selecting quilt padding, consider both thickness and weight to suit your project’s needs. Thicker padding adds substantial depth, while different weights offer varying levels of support.
Preparing the Pattern Pieces

Before sewing, cut out a piece of quilt padding slightly larger than your pattern piece. This excess ensures full coverage and prevents shifting during sewing. While pinning, keep in mind that the direction of the minky fabric affects the final shape. Symmetrical pieces like wings require careful placement to achieve uniformity.
Sewing and Trimming

Once pinned, sew the pieces together as usual, with the quilt padding positioned underneath. While sewing, maintain precision to capture both fabric layers evenly.

After sewing, trim excess padding and seam allowances, ensuring clean edges and defined shapes. Pay close attention to corners and transitions, trimming closely to achieve crisp lines and trim every corner for better result.

Flipping and Final Touches

After sewing, carefully flip the piece right side out, using a tool like a wooden spatula to push out any tight corners. Check for any missed stitches or fabric bunching, adjusting as necessary for a polished result.


If desired, further enhance the piece with topstitching detail. Using a fabric pen or pin, outline the desired stitching pattern before sewing with matching or contrasting thread.

Finishing and Evaluation

Once stitching is complete, trim any excess threads and smooth out any markings left by the sewing process. Evaluate the final piece, noting the added dimension and detail achieved through lining and stitching. With the right techniques, even simple plush parts can become standout features in your creations.

Conclusion: Unlocking Creative Possibilities
With these techniques, you can elevate your plush creations from flat to fantastic. Whether crafting wings, tails, or other intricate components, adding dimension brings depth and character to your designs. Experiment with different padding thicknesses and stitching patterns to unlock endless creative possibilities in your plush-making journey. Start incorporating these techniques into your projects today and watch your creations come to life!


