Introduction
In the world of plush toy making, attaching appendages like tails, wings, arms, and legs is a crucial skill. While many choose the traditional hand-sewing method, there’s an efficient alternative that not only saves time but also ensures sturdier and cleaner results: machine sewing. In this comprehensive guide, we’ll walk you through the process of machine sewing appendages onto your plushies step by step. Whether you’re a seasoned plush maker or just starting out, this method can be a game-changer in elevating the quality and professionalism of your creations.
Machine Sewing vs. Hand Sewing
Before we dive into the details, let’s briefly compare the benefits of machine sewing versus hand sewing when it comes to attaching appendages to plush toys.
Machine sewing offers several advantages
1. Time Efficiency: If you plan to create multiple plush toys with the same appendage, machine sewing can save you significant time compared to hand-sewing each piece individually.
2. Sturdiness: Machine stitches tend to be more robust than hand-sewn ones. This ensures that your appendages will stay securely attached over time, especially for larger and more substantial parts.
3. Clean Finish: Machine stitching produces clean and neat seams, giving your plushies a more polished and professional appearance.
4. Personal Preference: Some plush makers simply prefer machine sewing over hand sewing due to its efficiency and the reduced tedium of the process.
Machine Sewing Appendages
Now, let’s break down the process of machine sewing appendages onto your plushies:
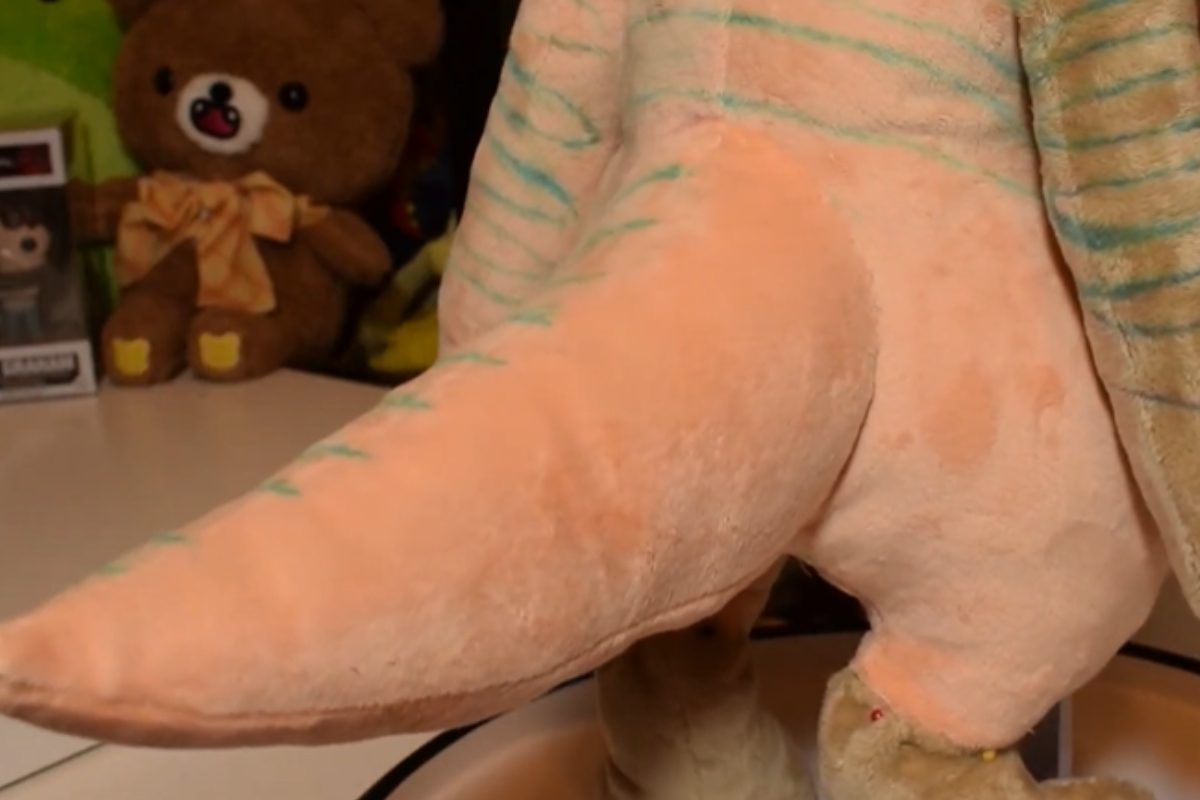
1. Pinning the Appendage

Start by positioning the appendage (in this case, a tail) exactly where you want it to be on your plush. Ensure that it’s evenly placed and aligned with the plush’s body seams. Pin it in place securely.
2. Tracing Seam Lines


Use a water-soluble pen to trace the seam lines where the appendage meets the plush body. Make sure to mark key points like the center and any reference points for alignment. This tracing will serve as your sewing guide.
3. Adding Seam Allowance


To ensure a secure attachment, add a generous seam allowance to the traced lines. It’s better to have a bit too much than too little, as you can always trim excess fabric later.
4. Cutting the Appendage

Carefully cut out the appendage along the newly added seam allowance lines. Take your time to ensure accuracy. If you plan to use the same pattern for multiple plushies, this is an excellent opportunity to update your pattern.
5. Pinning for Sewing

With the appendage and plush body pieces prepared, it’s time to pin them together. Turn the plush body inside out and insert the appendage into the opening, aligning the marked points and seam lines.
6. Sewing It Together

Now, using a sewing machine with a walking foot attachment for ease (especially when working with stretchy fabrics like minky or fleece), stitch along the traced seam lines you marked earlier. A quarter-inch seam allowance is a common choice for plushies, but you can adjust it to your preference.
Note: If you’re working on a test plush, a longer stitch length is recommended for easier seam ripping later. For final plushies, use a standard tight stitch for durability.
Ensure you align the fabric evenly and keep the stitches clean.
7. Checking and Turning Right Side Out
Examine your seam to make sure it’s secure and even. Once satisfied, turn the plush right side out. If you’re creating a final pattern piece, transfer any adjustments you made during this process to your pattern.
8. Stuffing and Finalizing

Restuff your plush toy, and you’re done! Admire your securely attached appendage, complete with a clean and professional-looking seam.
Conclusion
Machine sewing appendages onto plush toys is a valuable technique that can save time, enhance durability, and elevate the overall quality of your creations. With practice and attention to detail, you can master this method and confidently attach various appendages to your plushies. Whether you’re making plush toys for personal enjoyment or for sale, this skill is sure to make your creations stand out.
Happy plush making!