Introduction
Creating adorable plushies is an art form cherished by many, but when it comes to sewing tiny, intricate pieces, even experienced plush makers can face challenges. In this comprehensive guide, we will explore two techniques for sewing small plush objects. We’ll focus on creating a perfect nose, a little over one and a quarter inches long, but keep in mind that these techniques can be applied to various small plush elements like claws, teeth, and more.
Sewing small pieces demands precision and skill. Whether you’re a seasoned plush artist looking to refine your craft or a beginner eager to learn, these methods will empower you to add intricate details to your creations with confidence.
Method 1: Using Regular Sewing Machine
Starting with a Template

Before we dive into sewing, it’s essential to begin with a template of the object you want to create. In this case, we’re using a small nose as an example. The template should match the exact size and shape you desire for your plush element. For intricate shapes like this, it’s often better to omit seam allowance on the template.
Tracing the Template

Place your template on two layers of fabric, leaving a generous margin around it. This extra fabric will make sewing easier. Use a silver sharpie or fabric marker to trace around the template. Additionally, mark a point where you won’t sew to allow for turning the piece right side out.
Sewing with Precision

To ensure a clean and symmetrical result, sew along the silver line you’ve drawn. Start with a backstitch at the beginning and end at the marked point where you left space for turning. When dealing with small and complex shapes, slow and steady wins the race. Take your time, reorient yourself as needed, and follow the line meticulously.
Turning and Finishing


After sewing, carefully cut around the stitched shape, leaving some space between the stitches and the fabric’s edge. This step prevents unraveling. When you reach the marked point, leave more fabric to facilitate turning. Use a ladder stitch to close the opening neatly. Trim excess fabric, and your hand-sewn plush element is ready.


Method 2: Using an Embroidery Machine
Preparing the Fabric

Similar to the first method, begin with a template of your plush element. In this technique, we’ll leverage an embroidery machine for precision. Cut two pieces of fabric larger than your hoop’s size, allowing for some extra space.
Hoop and Design

Hoop the two pieces of fabric, ensuring the nap of the fabric aligns with your desired direction. Create an embroidery design using software like Embird, matching it to the size of your hoop. Trace the shape’s outline with a one-millimeter stitch, making it smaller for precision. Save the design in your machine’s format.
Machine Stitching

Load the design into your embroidery machine. You can now let the machine do the intricate work. Use plain thread in both the bobbin and the top thread. This method is particularly advantageous when sewing numerous small, complex pieces, such as claws or teeth.
Finishing Touches


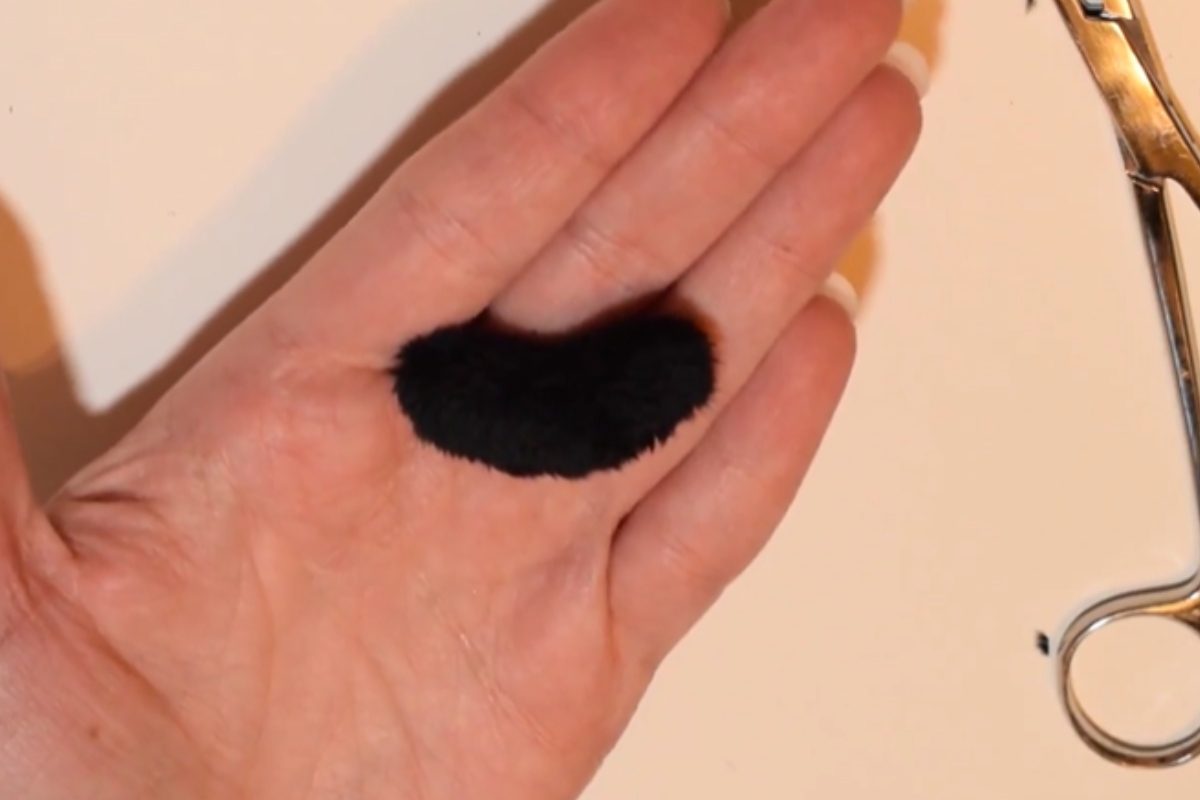
Once the machine has finished stitching, cut out your plush element, leaving some fabric around the edges. Snip close to the point if needed. Use forceps or hemostats to turn the piece right side out, paying attention to all corners. Finish the opening with a ladder stitch, tucking in excess fabric.

Clean-Up
Finally, run a pin along the seams to pick out any fur caught in the stitching, leaving your plush element looking pristine.
Conclusion
Both methods have their merits. Sewing by hand provides speed and material efficiency, while the embroidery machine ensures unmatched precision for complex shapes and larger quantities. As you practice and gain experience, you’ll find the technique that suits your plush-making needs best. Happy crafting!