Introduction
In this blog post, we’ll explore the art of embroidery over an appliqué seam on plush toy making. Embroidering over appliqué can be a challenging but rewarding technique, and we’ll walk you through the process step by step. Whether you’re using embroidery software like Ember or any other program, the principles we discuss here will apply.
Understanding the Challenge
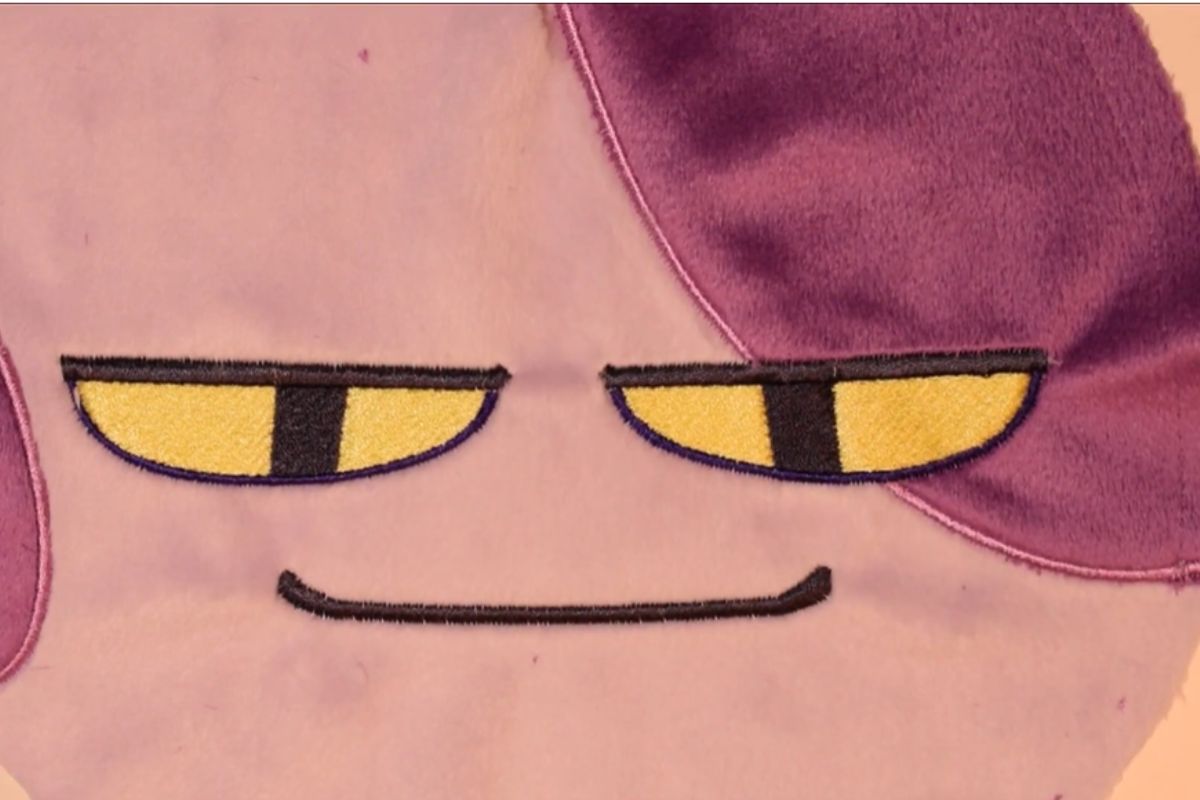
When you have an appliqué that needs embroidery on top, it’s crucial to plan your approach. In our example, we’re using a character’s eye that overlaps the appliqué seam. The challenge here is to make sure the embroidery looks clean and precise without any gaps or distortion.
Creating the Appliqué Object
Selecting the Appliqué Area

Begin by choosing the area where the appliqué will be placed. In our case, it’s Bob’s eye over the purple spot.
Creating a Stitch Line
To mark where the appliqué fabric should go, create a stitch line. In Embird Embroidery Software, you can use the “Create Outline Object” feature. Click at the start and end points of the line and adjust it as needed for a smooth curve.
Tacking Down the Fabric
After the stitch line, add another stitch to tack down the fabric. Shorten the stitch length for better control. This secures the fabric in place.
Satin Stitch Considerations
Be cautious with satin stitches. They shouldn’t run through the eye area as it can cause issues. Instead, they should slightly overlap the eye’s edge. You may need to adjust the satin stitch for this.
Color Coding
Use different colors for the outline object, the tack-down stitch, and the satin stitch. This helps your embroidery machine know when to stop for fabric placement.
Embroidery Design and Hooping
Printing a Template

If your embroidery software supports it, print a template with a centering object. This helps you locate the center of your embroidery on the fabric.

Preparing Appliqué Pieces
Cut out your appliqué pieces. They should be slightly larger than the pattern for a comfortable margin.

Hooping the Stabilizer
Hoop your stabilizer (we recommend using a large hoop if necessary). If you’re not hooping the fabric intentionally, you’ll be floating it.

Centering
Mark the center of your hoop and align it with your printed template or determine the center manually.
Fabric Placement
Lay your fabric on top of the stabilizer. The adhesive stabilizer will keep it in place, but you can use tape for extra security. Ensure the pile and cut of the fabric align correctly.
Outline Stitch Begins
Start to make the outline stitch. This will show you where to place your appliqué fabric.

Appliqué and Trimming
Cutting the Fabric
After the outline stitch, carefully trim the fabric around it. Leave a small margin to avoid gaps.

Placing Appliqué
Lay your pre-cut appliqué fabric over the trimmed area, ensuring it covers the stitch line. Double-check alignment using your centering marks.

Tack-Down Stitch
Execute the tack-down stitch. It secures the appliqué fabric in place.
Trimming Excess
Trim the excess appliqué fabric, being careful not to cut too close to the stitches. Leave a little margin for safety.

Water Soluble Stabilizer
To prevent the fabric from sinking into the stitches, use water-soluble stabilizer on top. Tape it down to keep it secure.
Embroidery Begins
Take the appliqué fabric to your embroidery machine and continue the appliqué. Do the second tack-down stitch.

Eye Embroidery
Satin Stitch
Create the satin stitch around the eye area. Ensure it doesn’t overlap the eye.

Trimming Jumps
Trim any jumps in the satin stitch. This keeps the embroidery clean.
Finishing Touches
Pattern Tracing
Trace your pattern onto the embroidered appliqué piece. This helps you cut it accurately.

Cutting
Carefully cut along the traced lines to complete your embroidered appliqué piece.

Conclusion
Embroidering over an appliqué seam may seem challenging, but with careful planning and execution, you can achieve clean and professional results. The key is to break the appliqué into sections, secure the fabric properly, and use the right tools and techniques. So, give it a try, and you’ll create beautiful embroidered designs on your appliqué projects. Happy stitching!