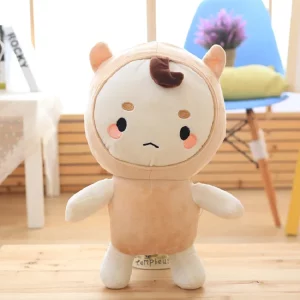
Introduction
In plush making, understanding how to sew triangular seams is a crucial skill, especially when dealing with color blocking techniques. Color blocking involves transitioning between different colors by creating seams rather than using methods like appliqué or top stitching.
While appliqué might be the preferred method for plushes with numerous triangular shapes, such as stripes or zigzag patterns, color blocking becomes necessary when dealing with specific designs that require clean, seamless transitions.
In this tutorial, we’ll delve into the process of sewing triangular seams for plush making, focusing on techniques and tips to achieve precise and polished results.
Understanding Triangular Seams
Triangular seams present a unique challenge due to the combination of concave and convex shapes, as well as the presence of pointed edges. When sewing such seams, attention to detail and precision are paramount to ensure a smooth and professional finish.

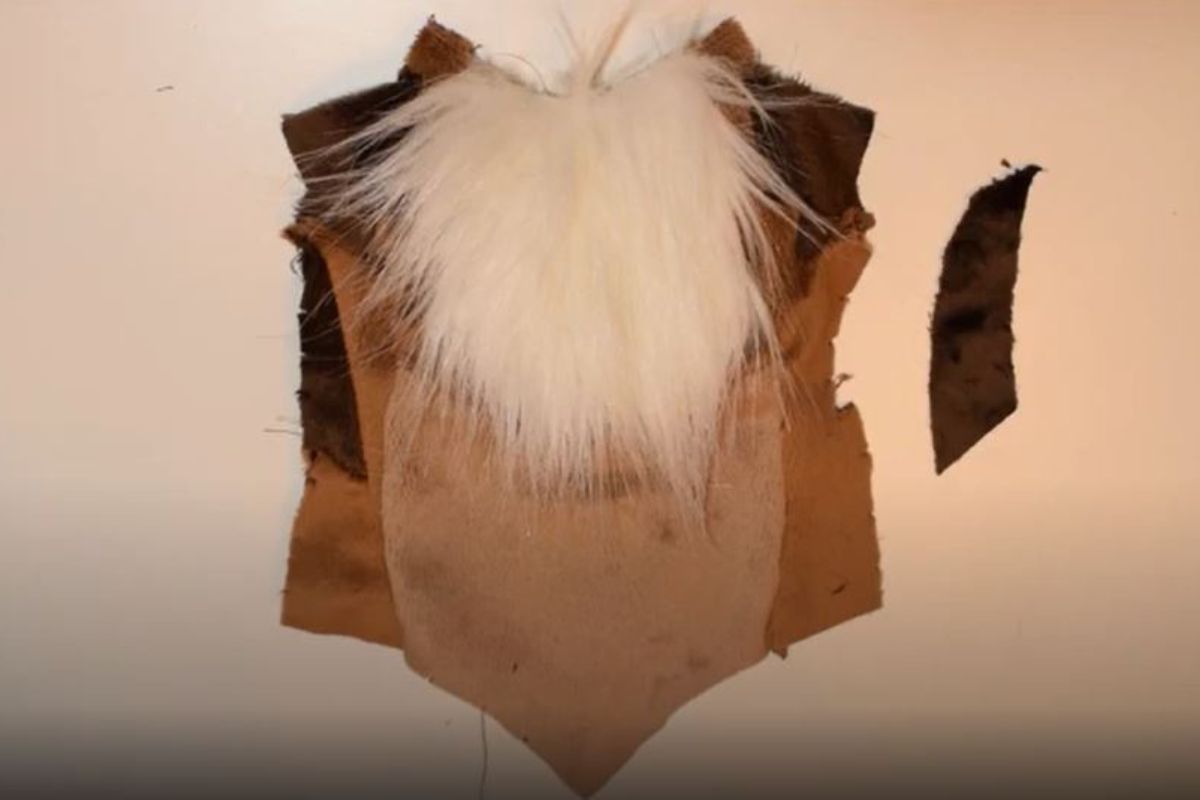
To begin, it’s essential to prepare the pattern pieces with the necessary seam allowance. Adding a quarter-inch seam allowance to all pattern pieces facilitates the sewing process and allows for accurate alignment of the pieces.
Preparing Pattern Pieces

Before sewing, it’s helpful to draw the seam lines on both the stripe and body pieces. This visual guide aids in aligning the pieces accurately, particularly at the pointed edges. Additionally, marking notches on the pattern pieces assists in ensuring proper alignment during assembly. While not always necessary for simpler shapes, such as straight lines or gentle curves, drawing the seam lines becomes indispensable when sewing triangular seams for plushes.
Sewing Technique

With the pattern pieces prepared, it’s time to pin them together with right sides facing. Start by inserting pins at the points where the seam lines intersect, ensuring precise alignment of the edges. Carefully pin along the length of the seam, using the notches as reference points to maintain alignment.

Once pinned, sew along the marked seam line, stopping precisely at the point of the triangle. Backstitching at the beginning and end reinforces the seam and prevents unraveling.
Trimming and Turning

After sewing the first seam, trim the fabric close to the seam allowance near the pointed edge. This step facilitates turning the fabric and ensures a crisp point without clipping into the seam line.

Next, flip the fabric to sew the second seam, starting from the edge and working towards the point. While this step can be challenging, especially with bulky fabrics like minky, patience and precision yield smooth and seamless results.
Pressing for Perfection

Once both seams are sewn, pressing the seam with an iron helps flatten and set the stitches. While minky fabric is sensitive to heat and can melt if exposed to high temperatures, using a low heat setting and pressing lightly along the seam aids in achieving a flat and professional finish. Pressing the seam open ensures a clean appearance on the backside, enhancing the overall quality of the plush.
Conclusion
Mastering the art of sewing triangular seams is essential for plush makers seeking to elevate their craft. By understanding the techniques involved and paying attention to detail, plush artisans can achieve seamless color transitions and polished finishes in their creations. Whether working with stripes, zigzags, or intricate designs, the ability to sew triangular seams opens up a world of creative possibilities in plush making. With practice and patience, plush makers can confidently tackle any project, producing high-quality plush toys that delight and inspire.